Before you start programming, you’ll need to install some tools in order to build and upload your code. Get a command-line of your choice ready, since we’ll be running some terminal commands.
Installing Rust
In order to use vexide, you’ll need a Rust toolchain (cargo, rustc, etc…) installed on your computer. To install Rust on your system, follow the instructions here.
If you use a Windows computer, the Rust installer may also prompt you to install Visual Studio Build Tools. This is required for building and installing cargo-v5. If you skipped this step, you can download the Build Tools installer here.
Installing cargo-v5
vexide uses the cargo-v5 tool to build/upload to VEX brains. You can install that by running one of the following commands, depending on your platform:
On Windows
Run the following command in PowerShell:
irm https://vexide.dev/install.ps1 | iexOn macOS or Linux
Run the following command in your Terminal app:
curl -fsSL https://vexide.dev/install.sh | sh -(Alternatives) Using a package manager
If you prefer, you can install cargo-v5 with a package manager instead of running one of the commands above. To do so, run one of the following commands:
Using Homebrew
If you have Homebrew installed, you can install cargo-v5 using the following command:
brew install vexide/vexide/cargo-v5Using Cargo
You can compile cargo-v5 from source using the following command:
cargo install cargo-v5Using Cargo Binstall
If you have the package manager installed, you can install cargo-v5 using the following command:
cargo binstall cargo-v5Setting up a Project
To make a new vexide project, we’ll use the cargo v5 new <NAME> command. This will create a project in the current directory containing a bare-bones template that we can start out with.
cargo v5 new my-projectAfter running this, you should have a new folder named my-project (or whatever you named your project). Open that folder in a code editor of your choice. If you don’t have a code editor, we recommend starting with Visual Studio Code or Zed.
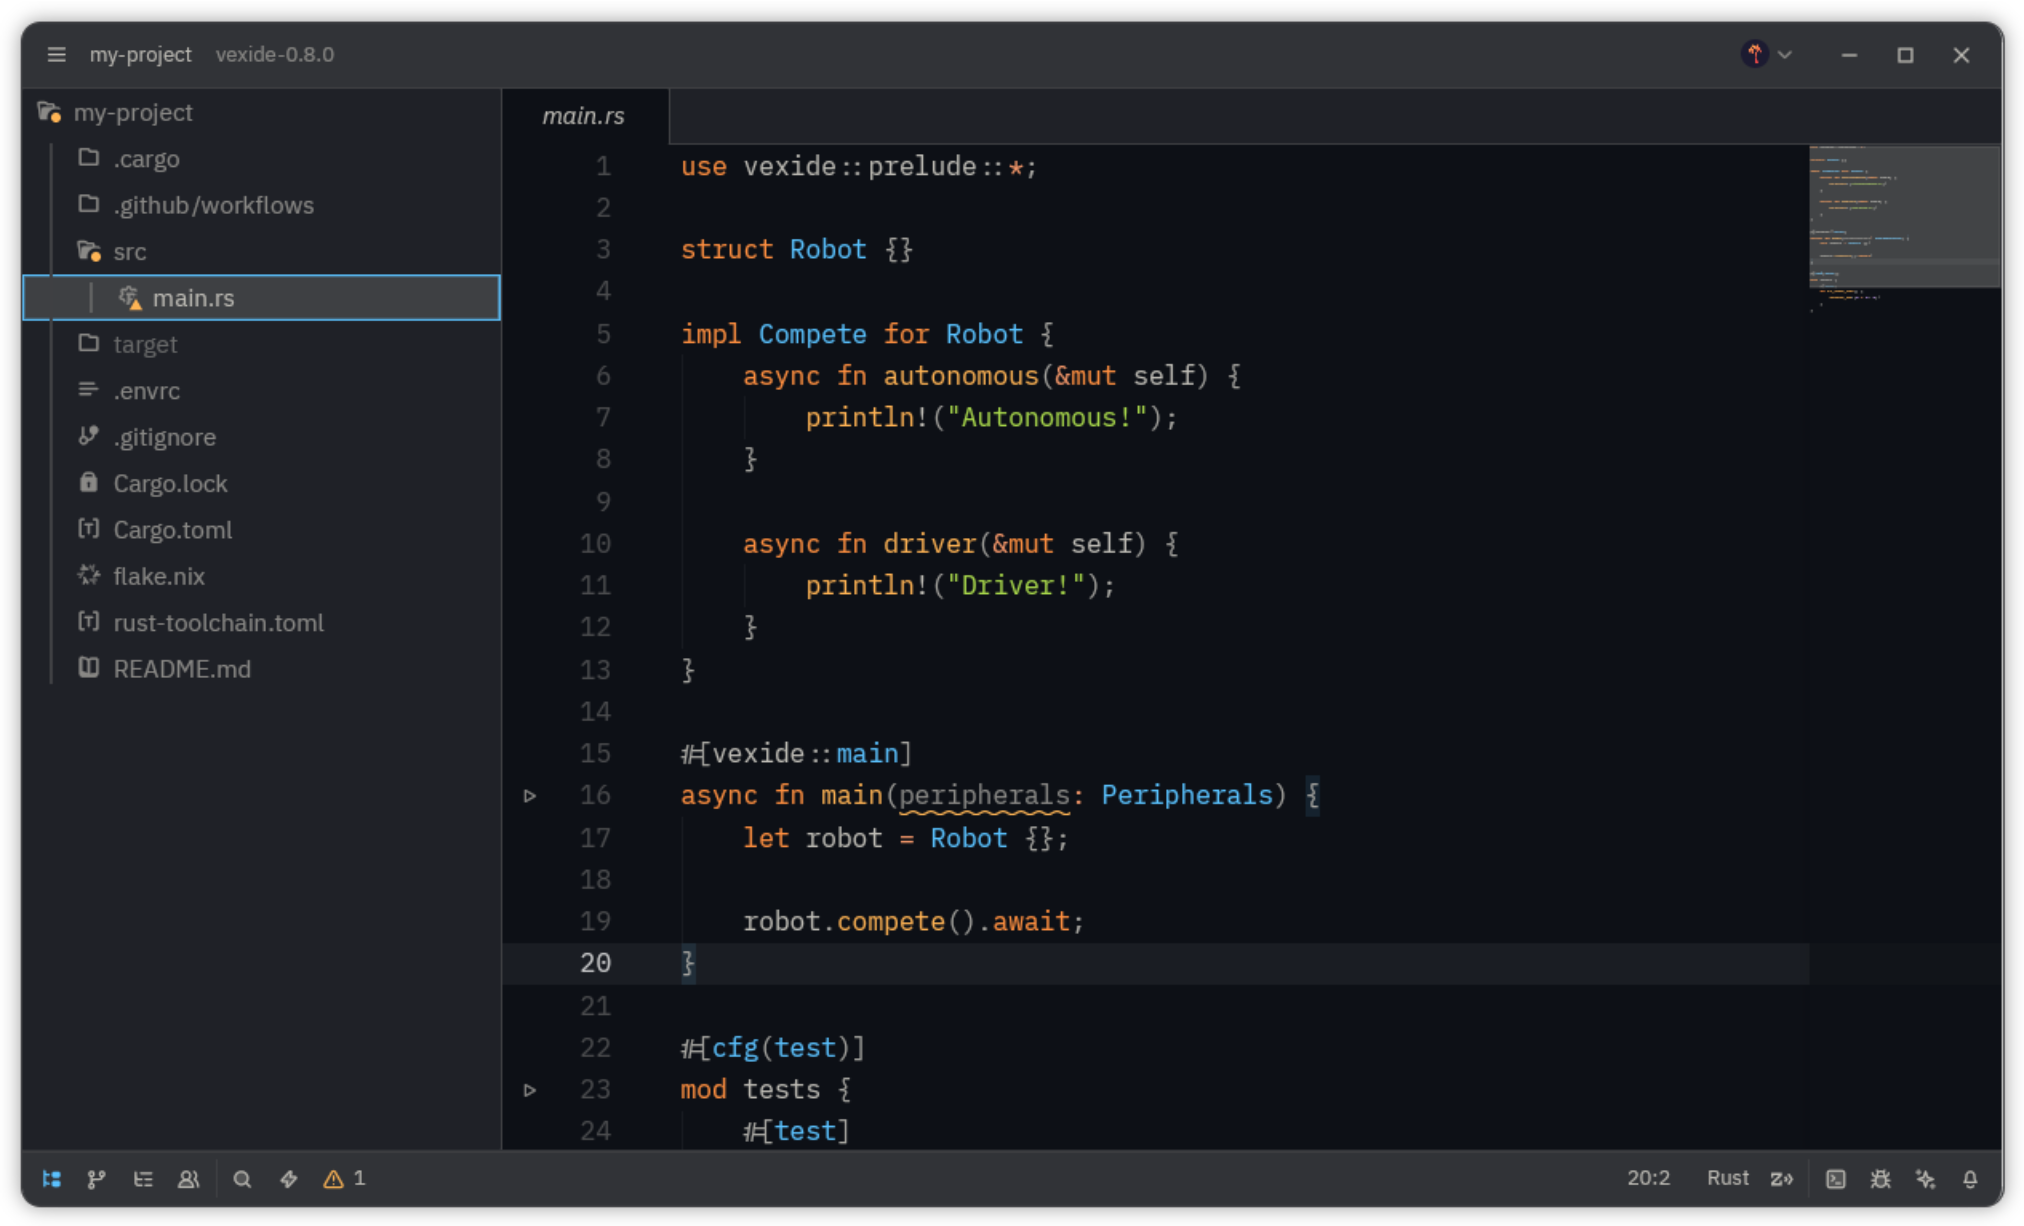
If you’ve worked in a rust project before, this file structure should be somewhat familiar to you.
my_project
.cargo
- config.toml
.github
workflows
- rust.yml
src
- main.rs The entrypoint file of your program’s source code.
- .envrc
- .gitignore
- Cargo.lock
- Cargo.toml Your project’s package information, including its dependencies.
- README.md
- flake.nix
- rust-toolchain.toml
If you don’t recognize any of this, that’s okay too! There are two files of relevance we’ll worry about right now:
- The
Cargo.tomlfile contains metadata and configuration about your project’s package. This includes your dependencies, or external libraries that you may wish to use later. This is also where you can configure your project’s name, description, and upload slot. - Inside of the
srcfolder is your project’s source code. That’s where the actual code for your robot goes. Everything in that folder will eventually be imported bymain.rs, which contains the entrypoint of your code — themainfunction. We’ll look at that on the next page.
Most of the other files in the template are configuration files that tell Rust how to build projects for the V5 Brain. There’s also a set of GitHub actions for testing your project when you push to GitHub and a flake for NixOS users.
